Getting started with CREATE Cloud
Project Registration
Before getting started with a CREATE Cloud project you need to decide whether this will be a free tier (limited quota, best effort support) or paid tier project (paid per annum quotas, full support). For more details see CREATE Cloud pricing.
Once the tier is decided email support@er.kcl.ac.uk with the tier choice and project registration information.
Info
It is fine to start with a free tier project for experimentation at the pre-award stage and then have paid tier quota applied to the same project if your funding bid is succesful. In these cases it helps if you can provide registration details that reflect the long term aims of the project and let us know of any changes to these detail at the point of grant award (e.g. end date).
House Rules
- With great power comes great responsibility. CREATE Cloud provides administrative capabilties (e.g. system root, Internet exposure) on your projects. Use these powers with great care and understanding.
- CREATE Cloud allows software to be exposed to the Internet for external access (via e-Research load balancers). Exposed applications must be security scanned prior to exposure and will be security scanned on a regular basis. Any software with published security vulnerabilties may be taken offline while they are addressed.
- You must adhere to CREATE Terms of Use.
- You must adhere to the King's Code of Connection.
If you or your research group lack the systems administration capability to comply with these rules we can almost certainly help so please get in touch to discuss your project requirements.
Cloud project activation
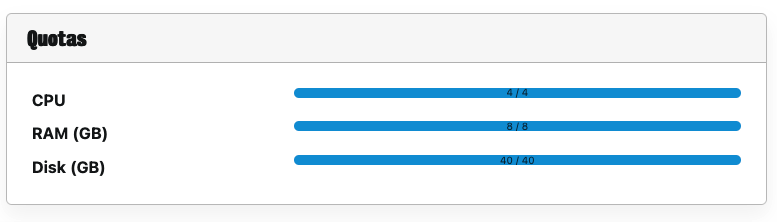
Once Cloud resources are enabled for your project an "Openstack Project" entry will appear in the list of Resources on the project page in the e-Research portal; CPU and RAM quotas will also be populated (Disk quotas cover resources for HPC and Cloud).
Navigate to your project
The web interface is accessed at https://cloud.er.kcl.ac.uk using standard King's credentials for single sign on over the e-Research VPN.
On logging in you will see an overview of the current resources available in your default project and other summary details. If you have access to more than one Cloud project; the current working project can be changed at the top left of the page.
If you have more than one project, use the drop-down combo box next to the King's logo at the top of the page to select the project you want to work on.